

Fiber cement sheets are renowned for their durability, fire resistance, and low maintenance requirements, making them a popular choice for various construction applications. However, like any building material, they can become damaged over time due to factors such as impact, weathering, or improper installation. As a trusted [Fiber Cement Sheet] supplier, I understand the importance of knowing how to repair these sheets to maintain the integrity and aesthetic appeal of your project. In this blog post, I will guide you through the process of repairing a damaged fiber cement sheet, step by step.
Step 1: Assess the Damage
The first step in repairing a damaged fiber cement sheet is to assess the extent of the damage. Minor damages, such as small cracks or chips, can often be repaired with simple techniques. On the other hand, severe damages, such as large holes or extensive cracking, may require more involved repairs or even replacement of the entire sheet.
Inspect the damaged area carefully to determine the cause of the damage. If the damage is due to impact, look for signs of the object that caused the damage and ensure that the area is safe from further impact. If the damage is due to weathering, check for signs of water damage or rot, which may require additional repairs.
Step 2: Gather the Necessary Tools and Materials
Once you have assessed the damage, gather the necessary tools and materials for the repair. The tools and materials you will need may vary depending on the type and extent of the damage, but some common items include:
- Safety equipment: Wear safety glasses, gloves, and a dust mask to protect yourself from dust and debris.
- Measuring tape: Use a measuring tape to measure the damaged area and ensure that you cut the replacement material to the correct size.
- Utility knife: A utility knife is useful for cutting the fiber cement sheet and removing any loose or damaged material.
- Sandpaper: Sandpaper is used to smooth the edges of the damaged area and the replacement material.
- Fiber cement repair compound: This compound is used to fill in small cracks and holes in the fiber cement sheet.
- Fiberglass mesh tape: Fiberglass mesh tape is used to reinforce the repair and prevent cracking.
- Paint or sealant: Depending on the location and appearance of the repaired area, you may need to paint or seal the repaired area to match the surrounding surface.
Step 3: Prepare the Damaged Area
Before you begin the repair, prepare the damaged area by removing any loose or damaged material. Use a utility knife to carefully cut away any loose or damaged fibers from the edges of the damaged area. Be careful not to cut into the surrounding undamaged material.
Next, use sandpaper to smooth the edges of the damaged area and remove any rough or jagged edges. This will help the repair compound adhere better to the surface and ensure a smooth finish.
If the damage is a large hole or crack, you may need to reinforce the edges of the damaged area with fiberglass mesh tape. Cut a piece of fiberglass mesh tape slightly larger than the damaged area and apply it to the back of the damaged area using a small amount of repair compound. Press the tape firmly into place and smooth out any wrinkles or bubbles.
Step 4: Apply the Repair Compound
Once the damaged area is prepared, apply the fiber cement repair compound to the damaged area. Use a putty knife or trowel to spread the compound evenly over the damaged area, filling in any cracks or holes. Make sure to apply the compound slightly thicker than the surrounding surface to allow for sanding and smoothing.
If you are using a two-part repair compound, follow the manufacturer's instructions for mixing and applying the compound. Some repair compounds may require a specific drying time before sanding or painting.
Step 5: Reinforce the Repair
After applying the repair compound, reinforce the repair with fiberglass mesh tape. Cut a piece of fiberglass mesh tape slightly larger than the repaired area and apply it to the surface of the repair compound. Press the tape firmly into place and smooth out any wrinkles or bubbles.
Apply another layer of repair compound over the fiberglass mesh tape, covering the tape completely. Use a putty knife or trowel to smooth the surface of the repair compound and ensure that it is level with the surrounding surface.
Step 6: Sand and Finish the Repair
Once the repair compound has dried completely, use sandpaper to smooth the surface of the repair. Start with a coarse-grit sandpaper to remove any high spots or rough edges, and then switch to a finer-grit sandpaper to achieve a smooth finish.
After sanding, clean the repaired area with a damp cloth to remove any dust and debris. If the repaired area is located in an area that will be exposed to the elements, you may need to apply a paint or sealant to protect the repair and prevent further damage.
Step 7: Replace the Damaged Sheet (if necessary)
In some cases, the damage to the fiber cement sheet may be too severe to repair, and you may need to replace the entire sheet. If this is the case, follow these steps to replace the damaged sheet:
- Measure the damaged sheet: Use a measuring tape to measure the length, width, and thickness of the damaged sheet.
- Cut the replacement sheet: Use a utility knife or circular saw to cut the replacement sheet to the correct size. Make sure to wear safety glasses and a dust mask when cutting the fiber cement sheet.
- Remove the damaged sheet: Use a pry bar or hammer to carefully remove the damaged sheet from the wall or ceiling. Be careful not to damage the surrounding sheets or the structure.
- Install the replacement sheet: Place the replacement sheet in the opening and secure it in place using screws or nails. Make sure to align the edges of the replacement sheet with the surrounding sheets and ensure a tight fit.
- Seal the edges: Apply a bead of caulk or sealant around the edges of the replacement sheet to prevent water and air infiltration.
Step 8: Paint or Seal the Repaired Area
Once the repair is complete, you may need to paint or seal the repaired area to match the surrounding surface. Choose a paint or sealant that is compatible with fiber cement and follow the manufacturer's instructions for application.
Before painting or sealing the repaired area, make sure the surface is clean and dry. Apply the paint or sealant evenly using a brush, roller, or sprayer, and allow it to dry completely before using the repaired area.
Step 9: Maintain the Repaired Area
After the repair is complete, it is important to maintain the repaired area to prevent future damage. Regularly inspect the repaired area for signs of cracking, peeling, or water damage, and address any issues promptly.
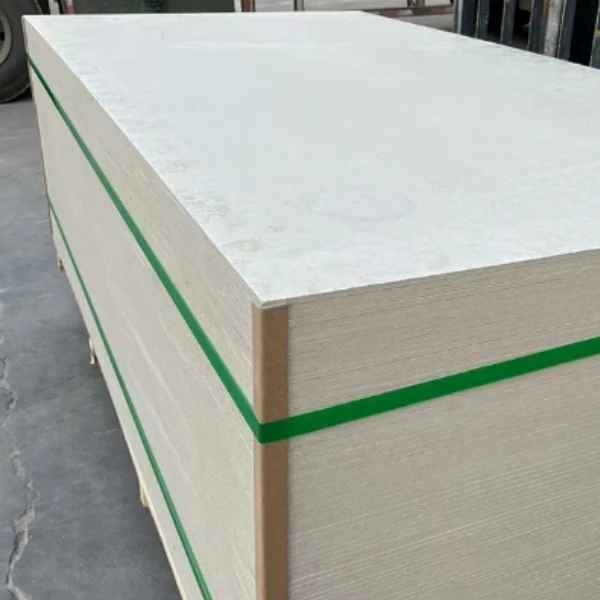
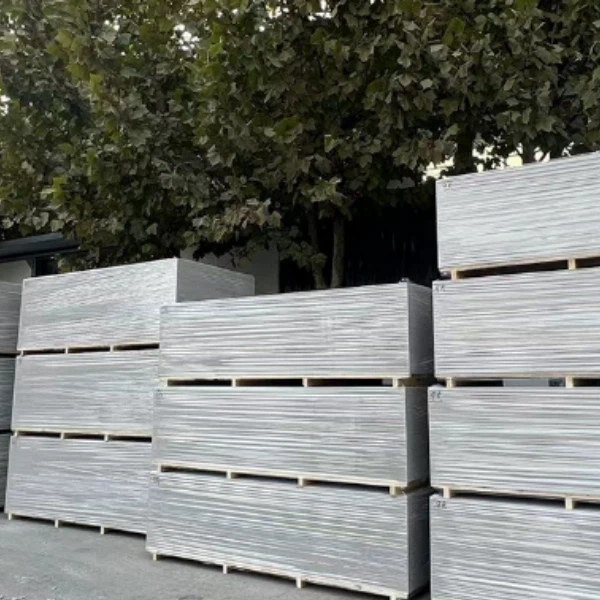
If the repaired area is located in an area that is exposed to the elements, such as a roof or exterior wall, you may need to apply a protective coating or sealant periodically to prevent weathering and damage.
Conclusion
Repairing a damaged fiber cement sheet is a relatively simple process that can be completed by most homeowners with basic DIY skills. By following the steps outlined in this blog post, you can repair minor damages to your fiber cement sheets and maintain the integrity and aesthetic appeal of your project.
If you have any questions or need further assistance with repairing your fiber cement sheets, please do not hesitate to contact us. As a leading [Fiber Cement Sheet] supplier, we have the expertise and experience to help you with all your fiber cement sheet needs. Whether you need advice on the best repair method for your specific situation or you are looking for high-quality fiber cement sheets and accessories, we are here to help.
Contact us today to discuss your project and learn more about our products and services. We look forward to working with you!
References
- "Fiber Cement Siding Installation Guide." James Hardie, 2023.
- "How to Repair Fiber Cement Siding." This Old House, 2023.
- "Fiber Cement Repair and Maintenance." CertainTeed, 2023.